Light seal replacement on Miranda Fv

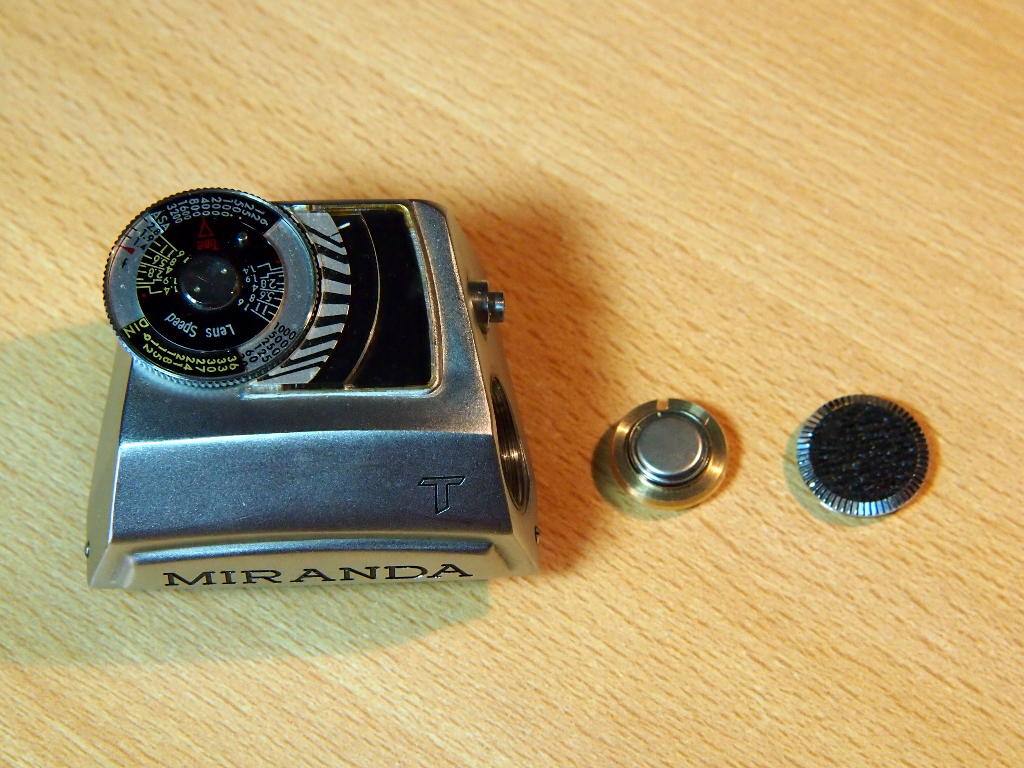
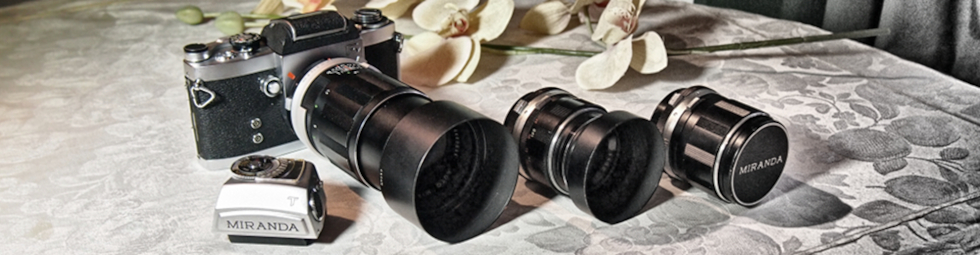
The light seals and the mirror damper pad on Dad’s old Miranda Fv looked a bit… shady, if you’ll excuse the pun. I haven’t yet got the first test film back from the film laboratory, but I’ve had this nagging suspicion that the condition of the seals had already caused light leaks.

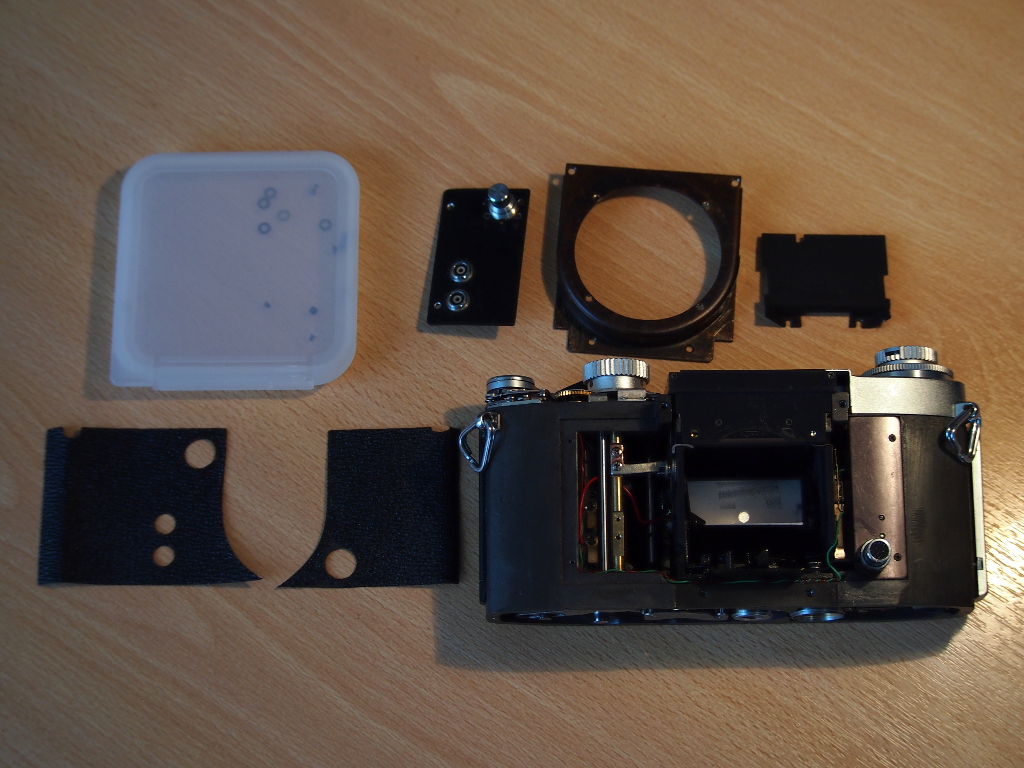
I wasn’t unprepared for that, though: some months ago I bought a light seal kit from Cam Spares. So, because I already had all the needed materials and tools, I decided to tackle the task of light seal replacement for the Fv.

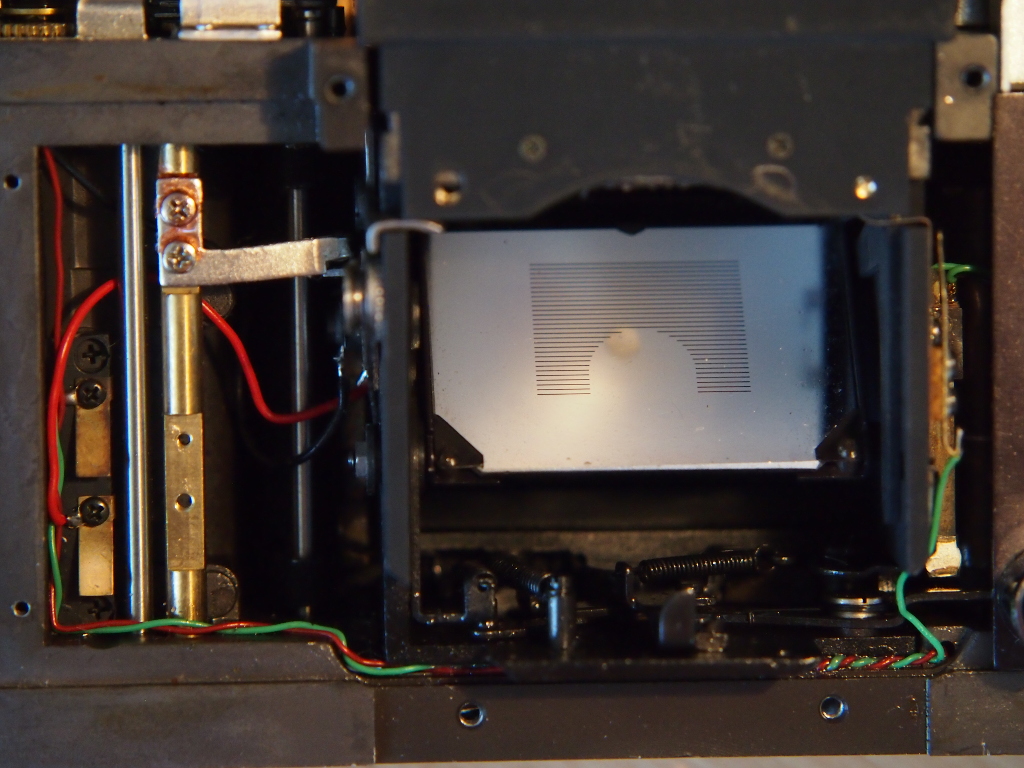
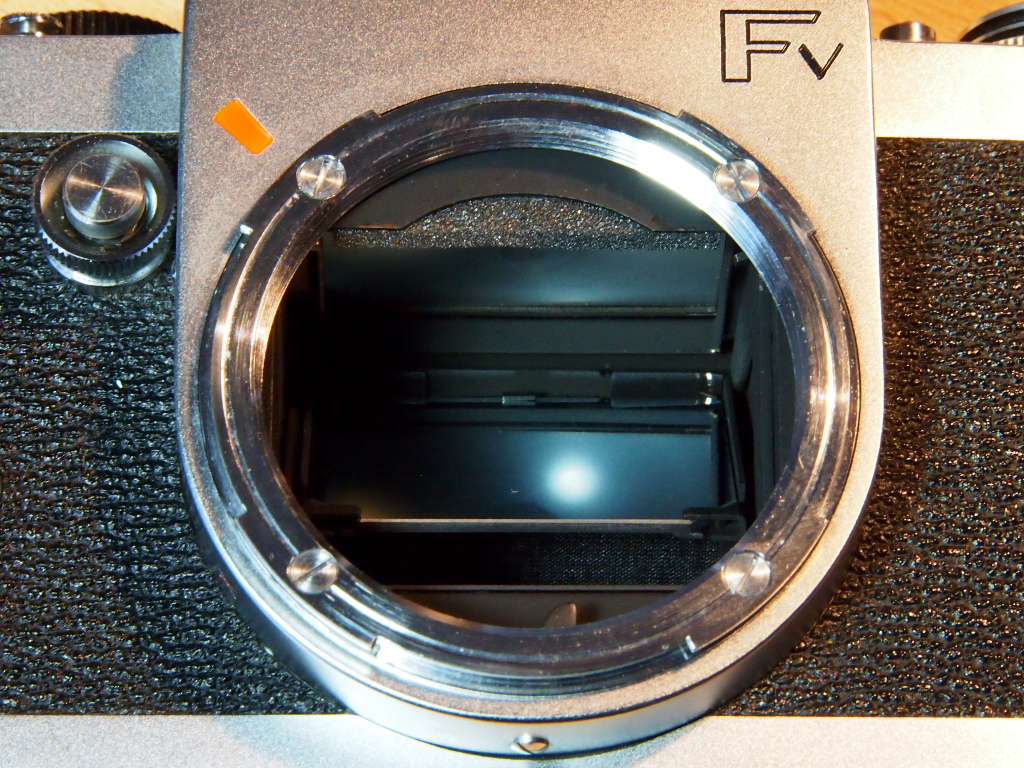
With proper materials (and good instructions, see here for an example) the task was surprisingly easy, the hardest part of it being fitting the ~1,5mm strip of foam to the grooves on the long sides of the film compartment. I may need to devise a special tool for that, if I ever need to re-seal an another camera.

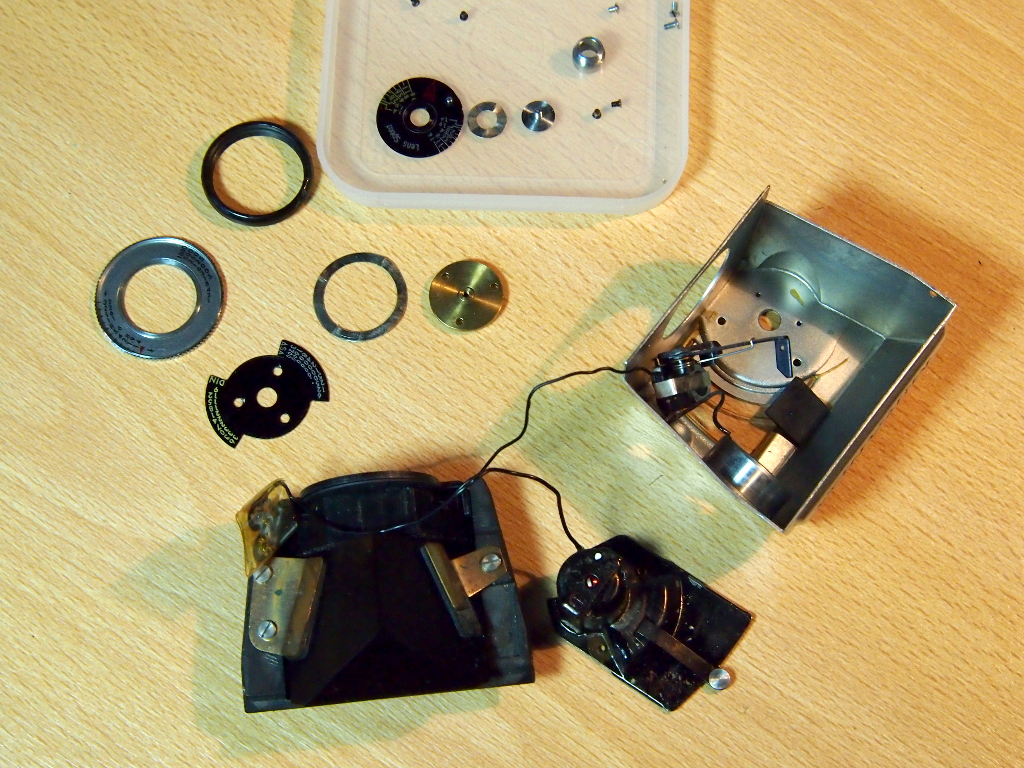
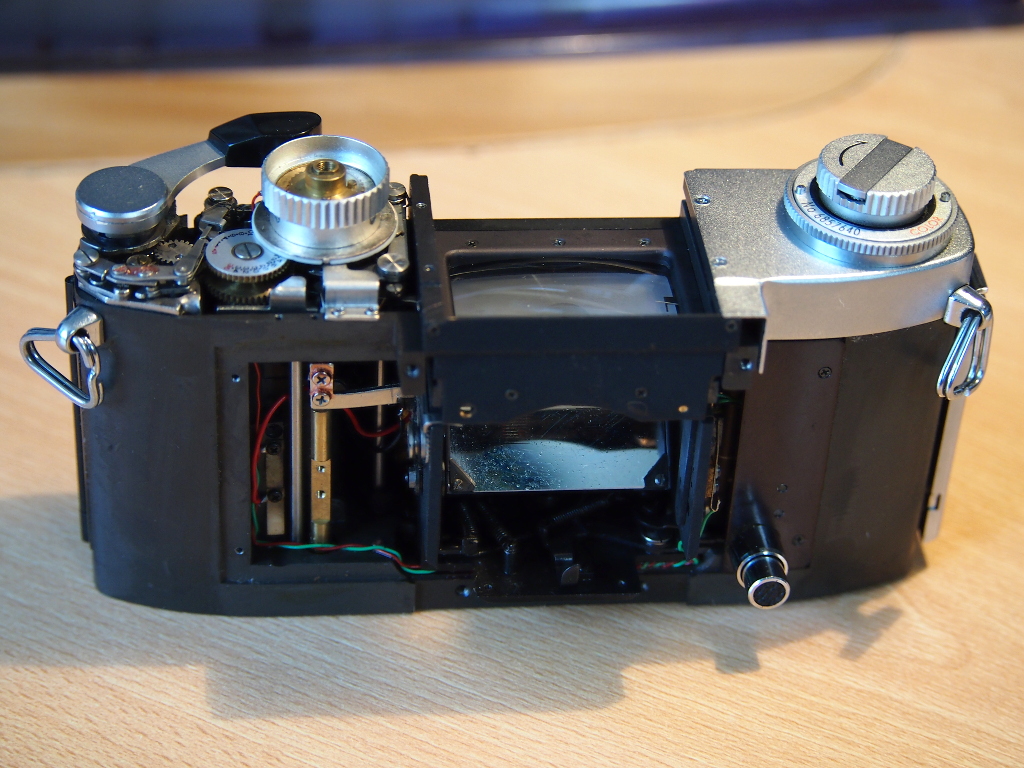
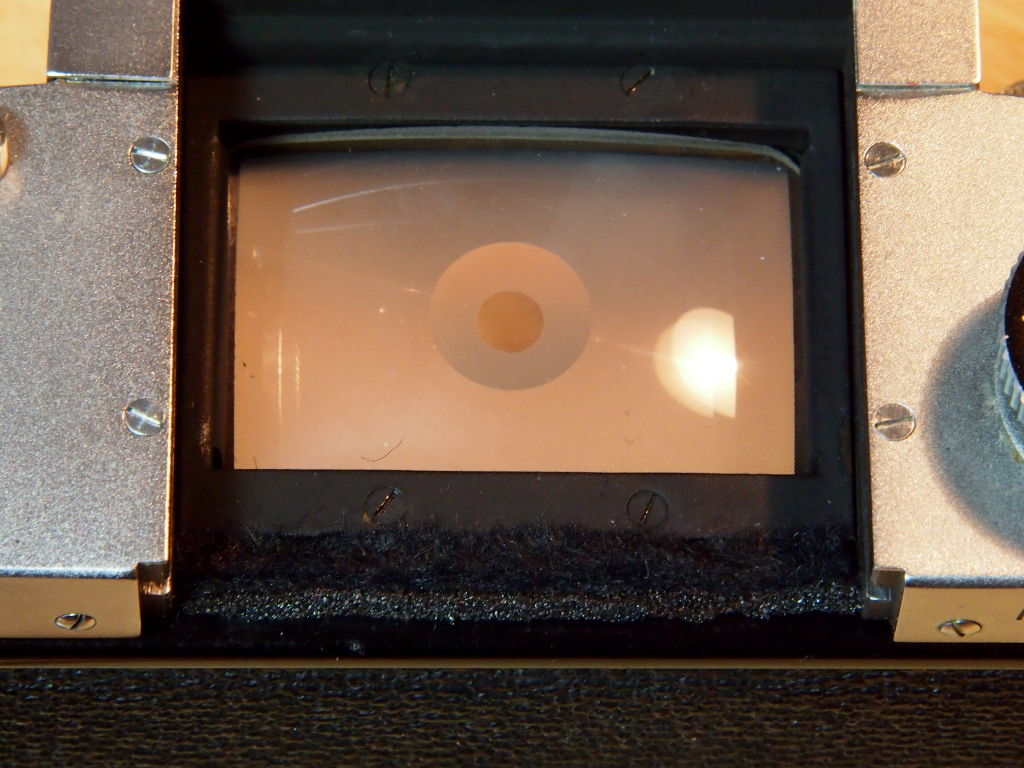
The mirror damper pad replacement may be a bit easier on Miranda than on other SLR makes because of the removable viewfinder. While I was doing that I took the opportunity to remove and clean the focus screen in a warm, mild dishwashing liquid solution. Never, ever, EVER use any kind of solvent on these plastic screens, you’ll damage them beyond repair!!!

The seal types I used:

  • 2,5mm foam for the mirror damper pad.
  • 1,5mm laser cut foam strip for the film compartment top and bottom seals.
  • 1mm felt for the viewfinder sealing and for the film door ends (red arrows on the last picture).
Mirror damper pad
Felt seal on viewfinder opening
Film compartment
Film door ends

Now I just need a new film…

Posted in Miranda | Tagged , , , | Comments Off on Light seal replacement on Miranda Fv

Repairing the Miranda TTL exposure meter

Yesterday evening I decided to take apart the malfunctioning Miranda TTL (Through-The-Lens) exposure meter, the one which is built inside the prism housing, and used by Miranda GT and FvT models.

The prism housing is held together by a handful of miniature screws, already quite difficult to handle because of their size, but the hardest part in disassembling it was removal of the plastic rim around the eyepiece; unfortunately I couldn’t successfully remove it without slightly scoring it. I wonder how it is supposed to be removed in an orthodox manner…

As I had suspected, there were some corrosion in the switch and battery contacts (Non-surprisingly: I am dealing with almost 50 year old devices here!). After cleaning the contacts, reassembling the unit and fitting a new 675Z-A battery it worked perfectly, and the readings are quite in line with the readings given by Miranda Cadius and Olympus DSLR. I suppose I could count this as a ‘Perfect Repair‘…

(In case someone wonders, the pictured brass PX625/PX13 battery adapter is from here.)

Miranda TTL meter, battery/adapter and battery cover
TTL meter taken apart
Posted in Miranda | Tagged , , , , | Comments Off on Repairing the Miranda TTL exposure meter

Testing exposure meters

Before I could even think of commencing the test shooting sessions with Miranda Fv and Yashicaflex, I needed to test the various exposure meters I have, to see which, if any, I can trust. I measured the readings given by them against the readings my Olympus DSLR gave, using ASA 400 setting / reflected light, where applicable.

The results:

  • Miranda Cadius (CdS): very good, just a little underexposure would have been happened if the readings had been used as such. This error could very well be caused by the slightly wrong battery voltage, 1,4v instead of 1,35v (675 zinc-air battery used).
  • Gossen Sixtar (CdS): the readings does not make any sense… Either I’m so stupid that I don’t know how to use it, or it is just plain broken.
  • TK-79 (selenium): quite a big error, even worse underexposure possibility. But at least the error was consistent; I wonder if it could be calibrated to show proper readings.
  • Miranda built-in-prism TTL meter (CdS): couldn’t test, there seems to be an intermittent (loose / corroded) connection somewhere inside it, need to investigate further.

Seems that it’ll be the Miranda Cadius which will follow me to the shooting sessions…

Posted in Miranda | Tagged , | Comments Off on Testing exposure meters

Repairing the RE (part 3)

A small update to the Miranda Sensomat RE repair project: it is now on long(ish) hold.

I don’t know whether this should be counted as bad luck or good: just when I had the RE finally working properly, a spring underneath the mirror housing broke. The good news is that it broke before I started reassembling the body, surely I would have been quite annoyed if it had broken later.

I went with the camera to the Tampere Camera Service, and the owner there promised to find a replacement spring for the broken one. Unfortunately, as it seems to happen in the springtime with almost every field of life in Finland, all of the photographers have awaken from the winter hibernation at the same time and want their cameras serviced. Consequently, the RE has been there for three weeks already…

To be continued…

Posted in Miranda | Tagged , , | Comments Off on Repairing the RE (part 3)

Repairing the RE (part 2)

The next step was to carefully strip off the front leatherette covers. They came off surprisingly easy, which then allowed me to remove the right side front plate with the shutter release, and the lens mount plate. It never ceases to amaze me to see how very small screws are used in these old cameras to hold everyting together. To think that those heavy lenses cling on to the body with just four ~1.5mm screws…

After removing the baffle inside the mirror housing the real culprit for the sticking mirror could be seen: the system of levers and springs underneath the mirror was bone-dry; it just screamed for some oil! And that’s where I made a little mistake…

But let’s tell first the good news: after oiling the levers the camera now works almost with 99% reliability, on all shutter speeds; I don’t doubt that with more flexing and usage it could ultimately work like new.

It is difficult, or next to impossible, to measure accurately the amount of oil when using a spraycan, and as a consequency I – literally – messed up a little with oiling: the surplus oil found it’s way to the mirror and viewscreen, and worse, to the shutter fabric. Now I need to clean up those parts, too… Next time when trying to overhaul a camera I need to devise some kind of syringe or similar, for accurate dosage of oil.

So, a final cleaning remains, and then I could start reassembling everything back together.

Sensomat RE: lens mount removed
Sensomat RE: mirror levers
Sensomat RE: awaiting assembly

To be continued…

Posted in Miranda | Tagged , , | Comments Off on Repairing the RE (part 2)