The various versions of the Soviet-made Zenit (ЗЕНИТ or Зeнuḿ) cameras are one of the most produced SLR film cameras in the world. The manufacturer of these cameras was the KMZ factory near Moscow.
The first versions of the Zenit were based on the KMZ’s own Zorki rangefinder, using the same m39 screw mount as Zorki and FED (and Leica) rangefinders. Some sources refer this Zenit version of the m39 mount as ‘z39’. From a technical viewpoint using the same mount was not a bad decision, saving the need to design a new mount. But this decision has created a lot of confusion among the later users, because while Zorki/FED lenses are mechanically compatible with Zenit, they are not optically compatible because of the differing flange distances (‘back focus’). While the flange distance of Zorki/FED is 28,8mm, on Zenit it is (originally) 45,2mm. And to confuse things further, Zenit 3M’s flange distance was raised to 45,5mm for the year 1969, probably to make it more compatible with the m42 (45,46mm) mount.
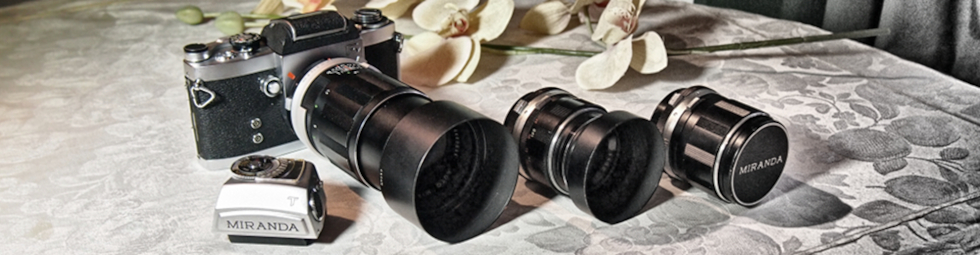
Some time ago I got an idea of purchasing a 1964 model Zenit 3M from Ukraine. It arrived within a few weeks: a mechanically very good example, but in need of a bit of cosmetic touch-up. It came with the stadard issue chrome Industar-50 lens, and later I got some extra lenses: a 58mm Helios-44 ‘Zebra’ m39/m42, and a 85mm Jupiter-9 made by LZOS, with a m39 mount.
And here’s where the “Adventures in Zenitland” started: at some point I noticed that NONE of the three lenses focused correctly to infinity. They all went over the infinity point, meaning that they all were too close to the film plane.
It seems that both the Industar-50 and the Jupiter-9 lenses had been adjusted for use with the later 45,5mm flange distance, or rather, for use with the m42 mount adapter (that is, for the damned digital shooters!). Being a ’64 model, my Zenit had the original 45,2mm mount, meaning that I had to add 0,3mm worth of shims under the mount. An empty energy drink can sitting on my desk came to rescue: the aluminium wall was exactly 0,1mm thick, and was so soft it was easy to make three shims with just ordinary scissors.
Okay, that fix made both Industar and Jupiter happy. But what about the Helios-44?
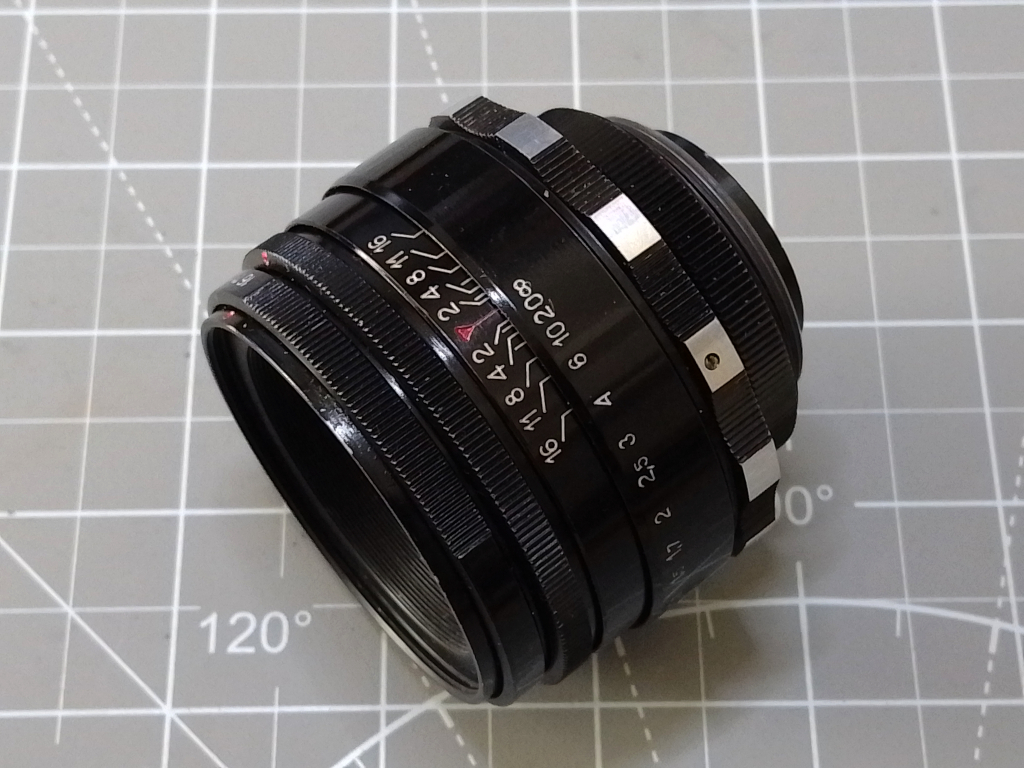
The Helios-44 ‘Zebra’ model was produced only in the year 1970, the same year as the last of the m39 Zenit’s were made. It came as standard with a m39/m42 adapter, a simple metal ring with a m39 thread inside and a m42 outside, no flanges or anything. I tested it with the adapter fitted on two film cameras and a digital one, all having m42 adapters of their own, and also cross-tested the cameras with a genuine m42 Helios-44-2. Results? It worked perfectly fine, no issues with focusing, infinity or otherwise. But… at this point I started doubting my sanity: on the m39 mount of the Zenit 3M it still overshoot the infinity by a wide margin, although the flange distance difference between the mounts was now just (theoretical) 0,04mm!
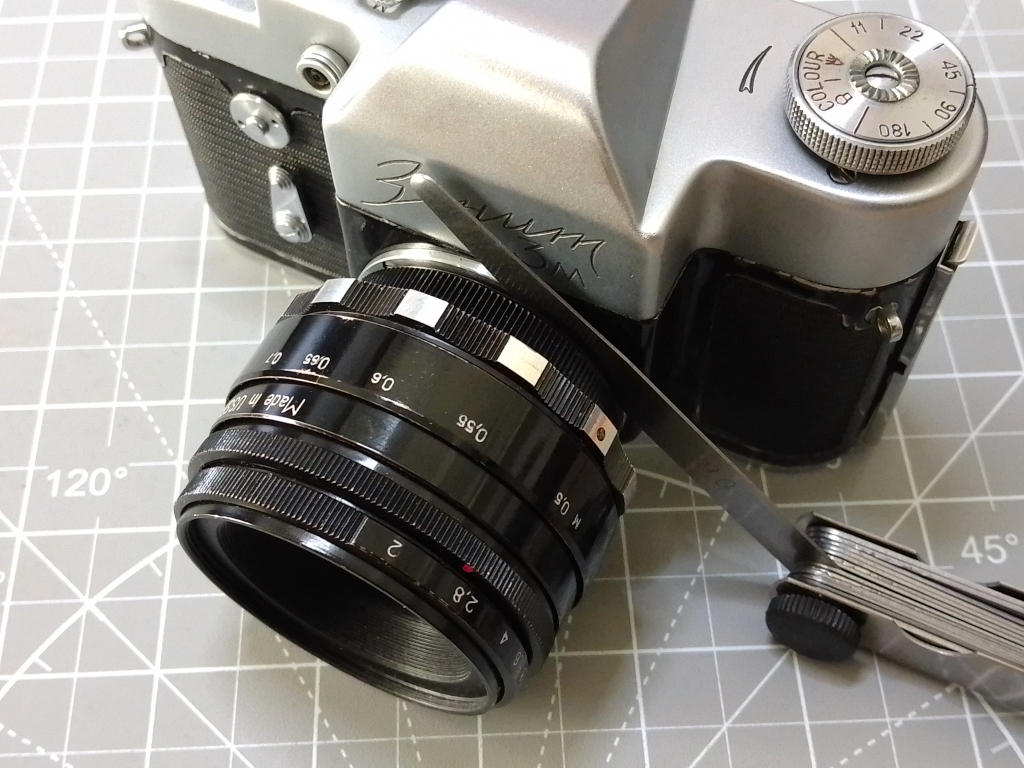
Yes, that did not make any sense. Nope. Anyway, I started figuring out how much further out the lens should be moved so that it would focus correctly to infinity. I unscrewed the lens slightly and tried out different thicknesses of feeler gauges between the lens and the mount, ending with the result of 0,6mm.
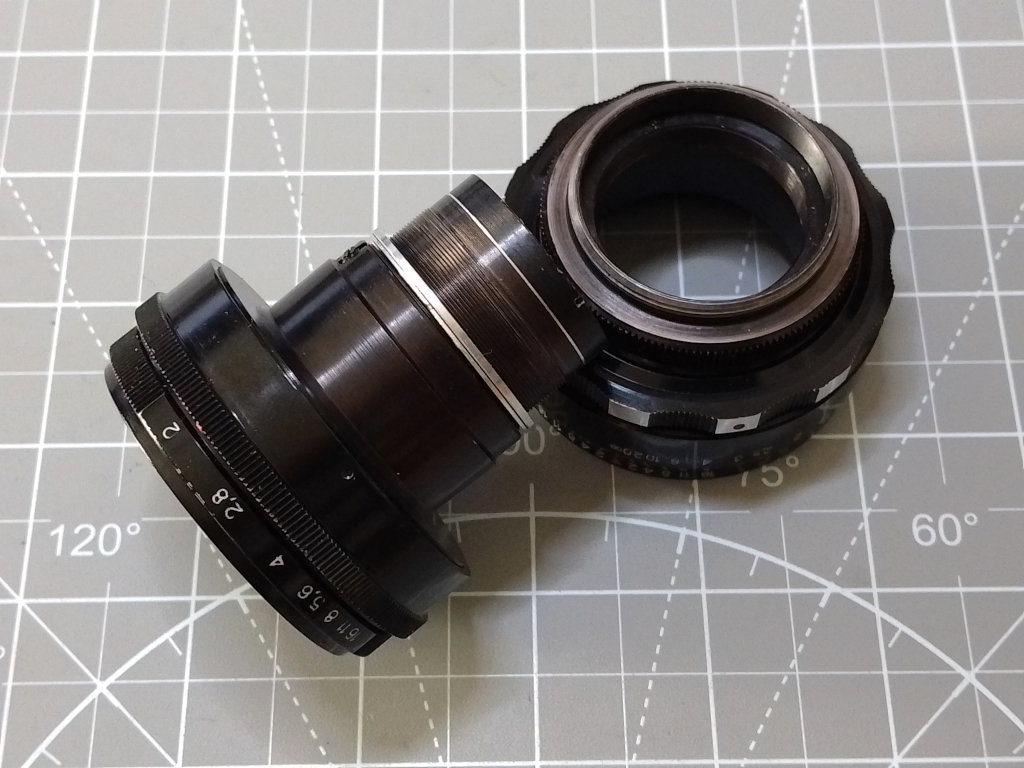
Helios-44 lenses can be split into two parts: the lens unit and the outer casing. Between these two is an aluminium shim with a thickness of 1,1mm. I started making an additional shim modeled after the original, but with a thickness of 0,6mm, from an aluminium sheet. It needed way, way too much cutting, drilling, grinding etc., but I was determined to make it properly… On the photo above the thinner of the two shims is the one I made.
After reassembling the lens I tested it on the Zenit 3M: Ooo, a perfect infinity focus! Whew, the adventure was finally over… But I still do not understand why I had to make the extra shim; why does a lens behave so differently on mounts with different diameters, but equal flange distance?
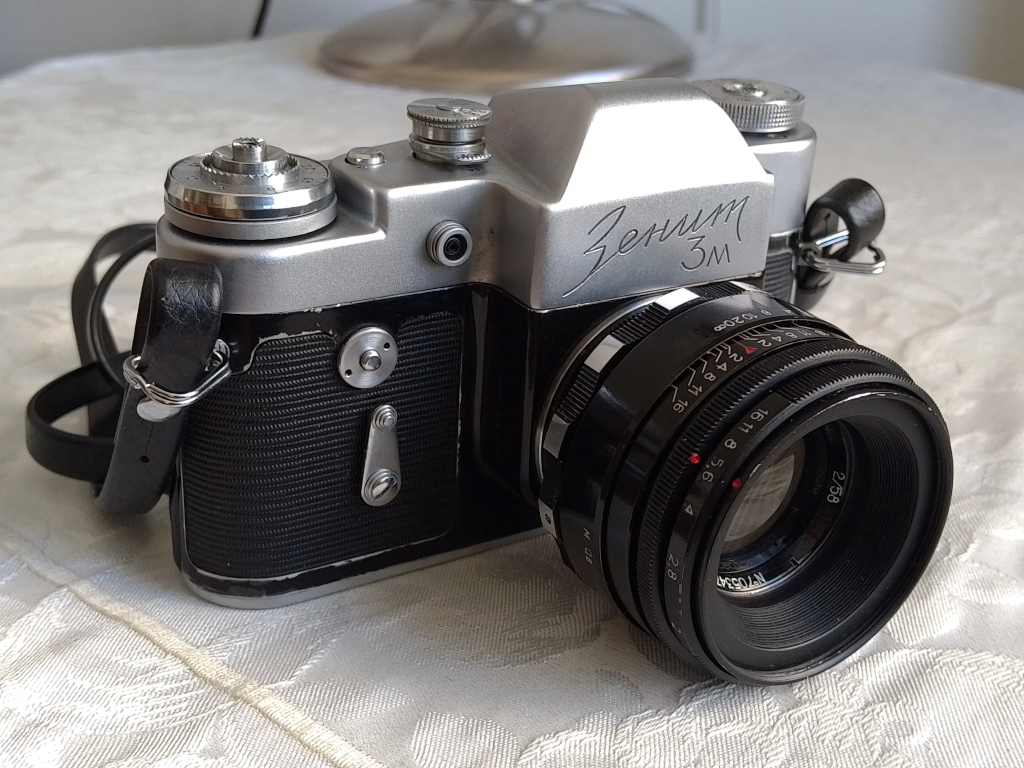
A 1964 Zenit 3M with a 1970 58mm f/2.0 Helios-44 ‘Zebra’ lens.