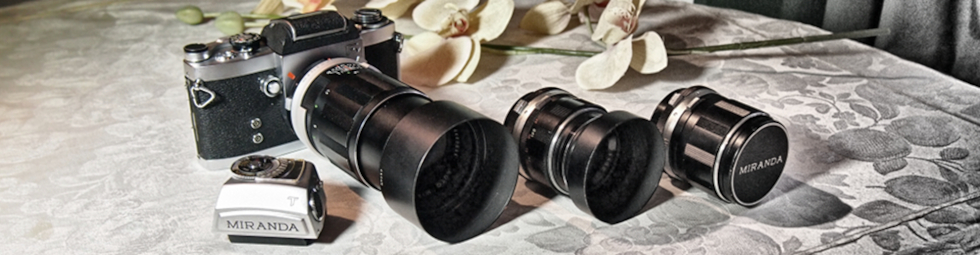
Laborec is a special camera designed with scientific / laboratory usage or astronomical photography in mind. It was made by Miranda Camera Co., Japan; the first models (from 1965 on) were sold using an old Orion/Miranda bellows system label “Mirax”, the later models (1970-1977) were sold as Miranda Laborec. The main difference between Mirax and Miranda versions is the mount, which is a special 46mm-thread-with-external-bayonets mount on Mirax, while the Miranda Laborec uses the standard 44mm Miranda mount. The Mirax mount is rather unfortunate, because the lenses and adapters for that mount are as rare as hen’s teeth, making it practically a collector’s item.
The Miranda Laborec III was actually the last Miranda model produced, the last ones were assembled from parts by the American Miranda importer AIC, after the main Miranda factory in Japan had closed down.
I have two Mirax Laborecs; the first one (serial number 114540) is a total wreck, demoted to a parts donor, but the second (serial number 115851) is in almost perfect condition, the only problem being sticking mirror and shutter caused by, as I later found out, 50-odd-year-old oil, grease and dust transforming into a sticky paste. To clean everything out properly, especially the Laborec’s special mirror system, I was forced to dismantle the camera almost completely. In the following chapters I’m trying to describe how to do that (the pictures were taken during the reassembly stage, so please refer to them in reverse order when disassembling). Apart from the mirror system, these instructions can be applied to the normal ’60s Miranda camera models, too.
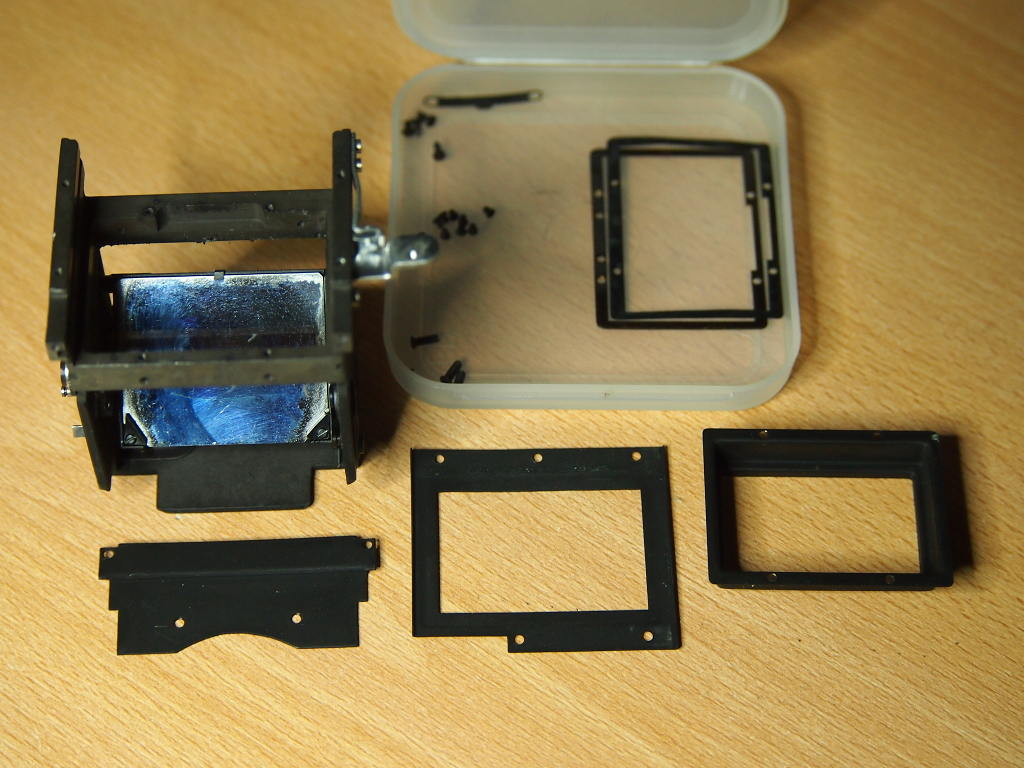
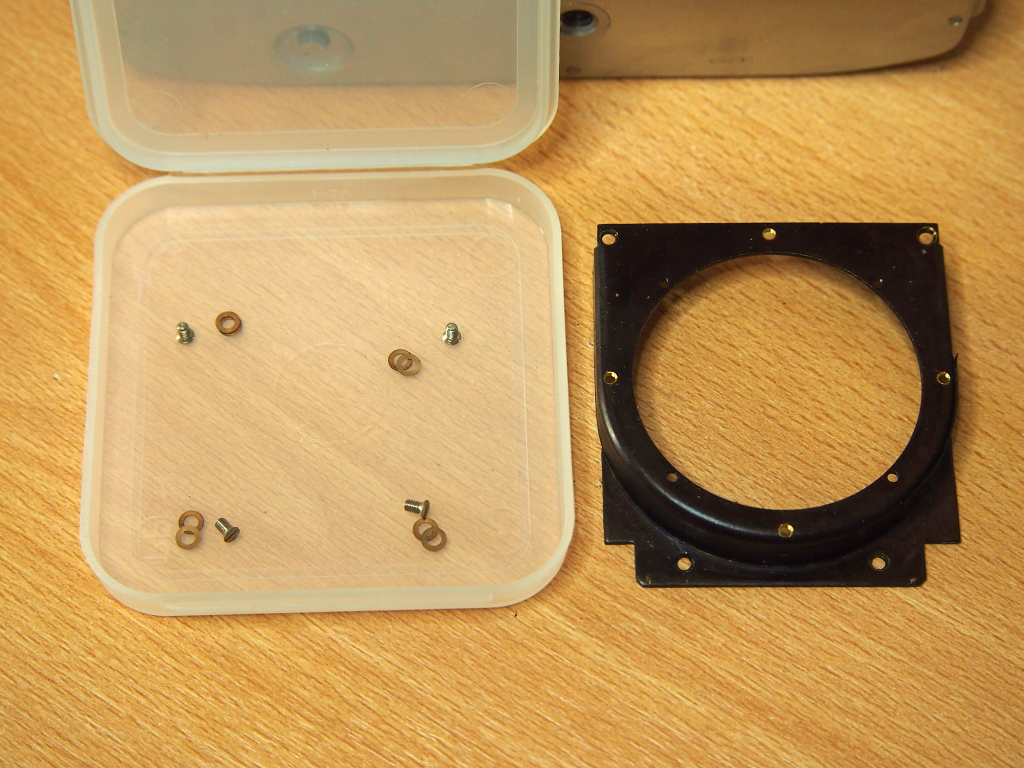
This is the mirror housing dismantled for cleaning and mirror bumper pad replacement.
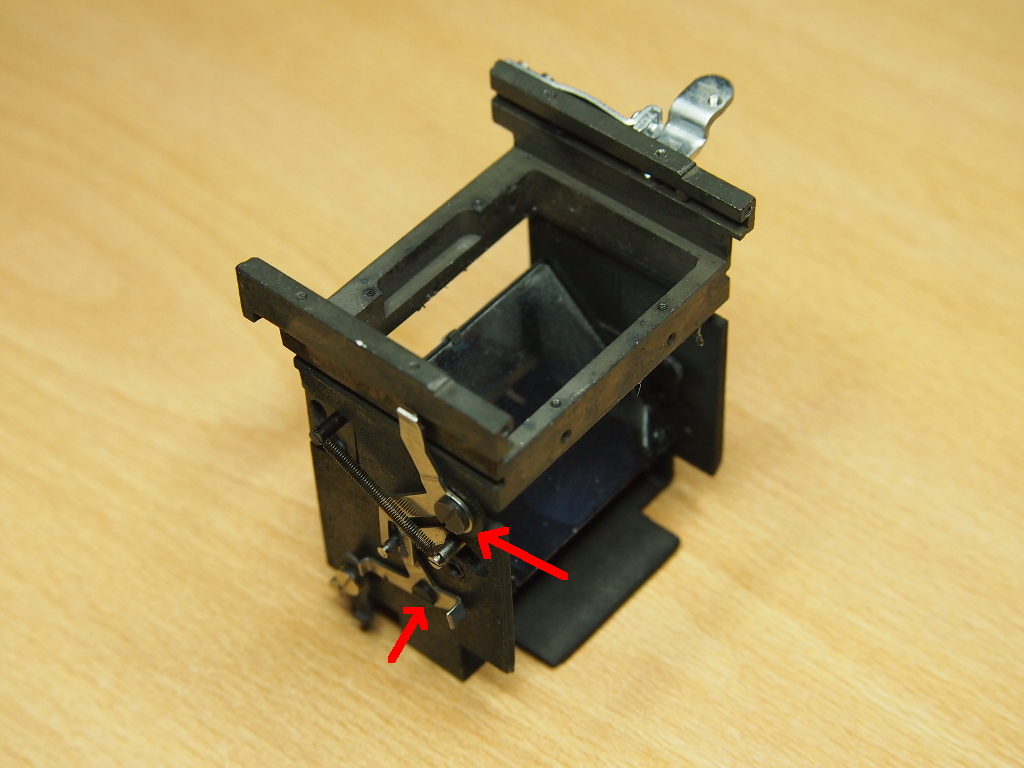
The mirror actuating levers (red arrows) were so sticky with old oil that the spring couldn’t pull the mirror back down. The Laborec has quite an elaborate mirror bumper pad system; unlike normal Mirandas (except G/GT models), it has two foam pads, front and back, and a foam collar around the focusing screen holder. The rear bumper pad measures 2mm x 40mm and the front 2,5mm x 33mm, the thickness of the foam is about 2,5mm-3mm.
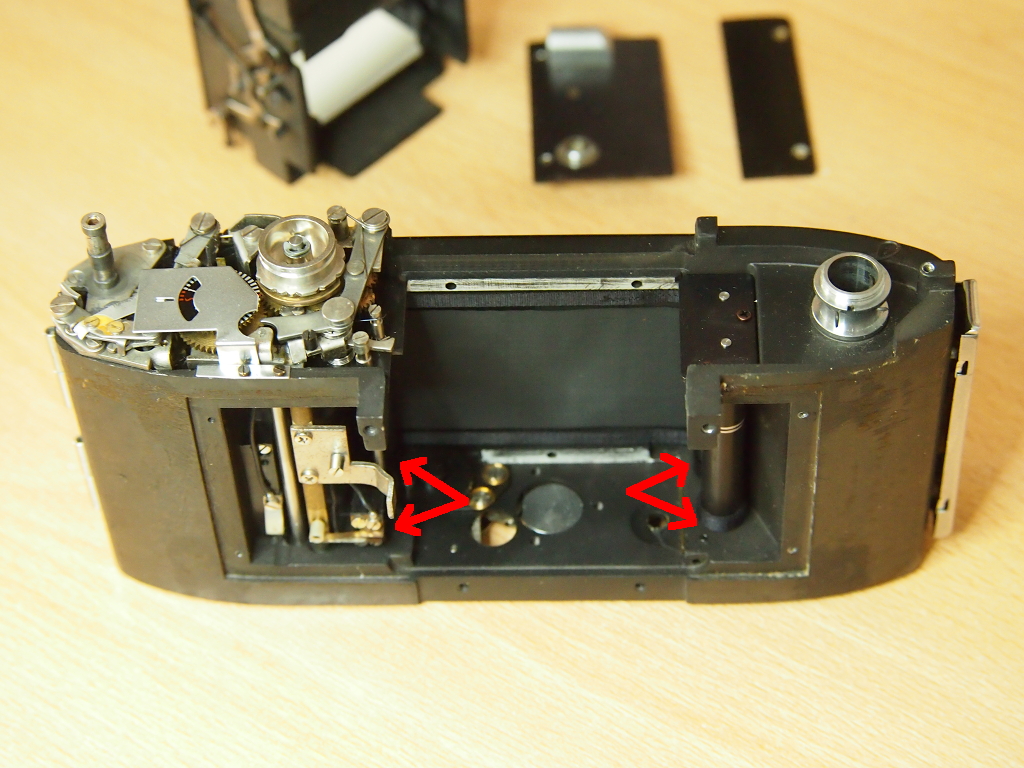
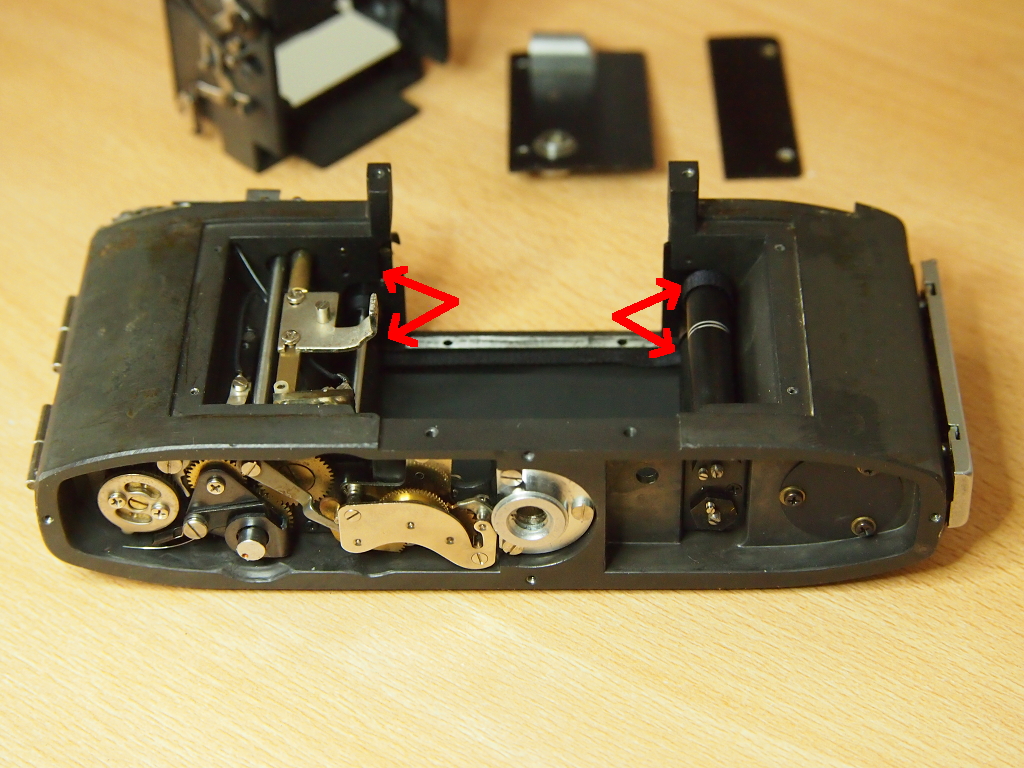
I cleaned the mechanisms with CRC Quickleen, while trying to keep the cleaning fluid off the shutter, which is made of rubberised fabric, and may not like solvents and oils at all. The red arrows indicate the shutter spindle lubrication points. Do NOT overdo the oiling, excess oil does more harm than good. The mechanism is designed to run almost dry, anyway, so add just a drop or two of oil to the gear spindles and the like. I used CRC Gun Oil to lubricate, it doesn’t stiffen on low temperatures (an important feature here in cold Finland).
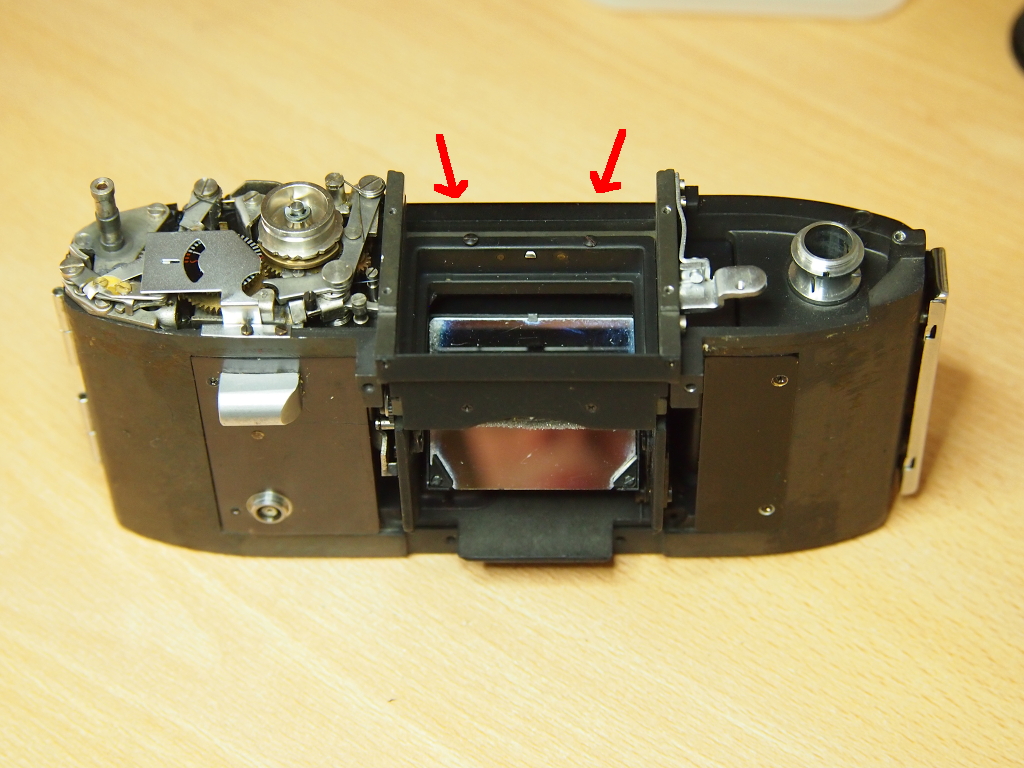
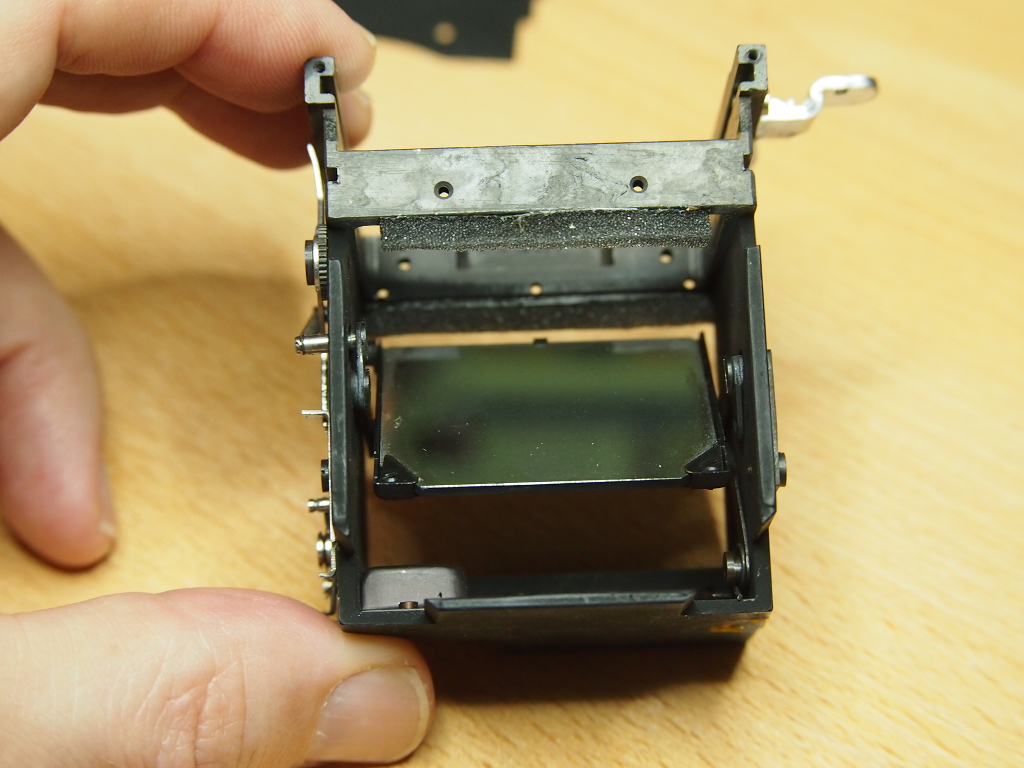
The mirror housing and the front plates are back in place. The mirror housing is held in place with three screws within the film compartment (indicated by red arrows). Before pushing the housing in place make sure to set the mirror actuating arms and the mirror to “up” position.

Both the screw in the middle of the winder knob and the viewfinder release knob has a LEFT HANDED (!) thread (red arrows). Miranda engineers seemed to be quite fond of left hand threads, you can be sure to find them somewhere in the camera, regardless of the model (usually at least on the film winder). Note that there are no shutter release button; Laborec was designed to be used only with remote release cable.
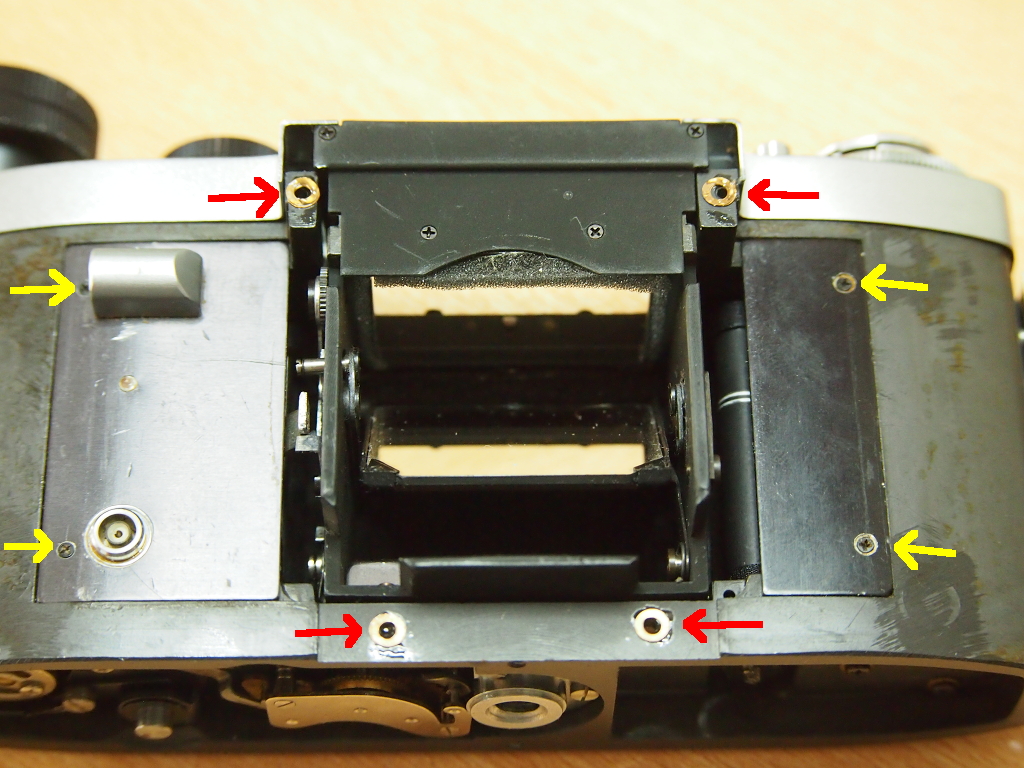
Under the lens mount holding plate there are a set of thin washers. Be sure NOT to misplace or mix them, they NEED to go back to the same position they were, otherwise your lens may not be correctly aligned. A dab of grease helps to keep them in place during reassembly (red arrows).
The yellow arrows point to the crosshead screws holding the front plates. Not many people realize that there are actually three more or less incompatible crosshead systems – Phillips, Pozidrive and JIS (Japan Industry Standard). Miranda, of course, uses the JIS screws. If you use force to open a JIS screw with a Phillips screwdriver, you’ll end up destroying the screw head. Correct JIS screwdrivers are hard to find, at least here in Europe. Some possible locations are listed below in the “Tools”-section.
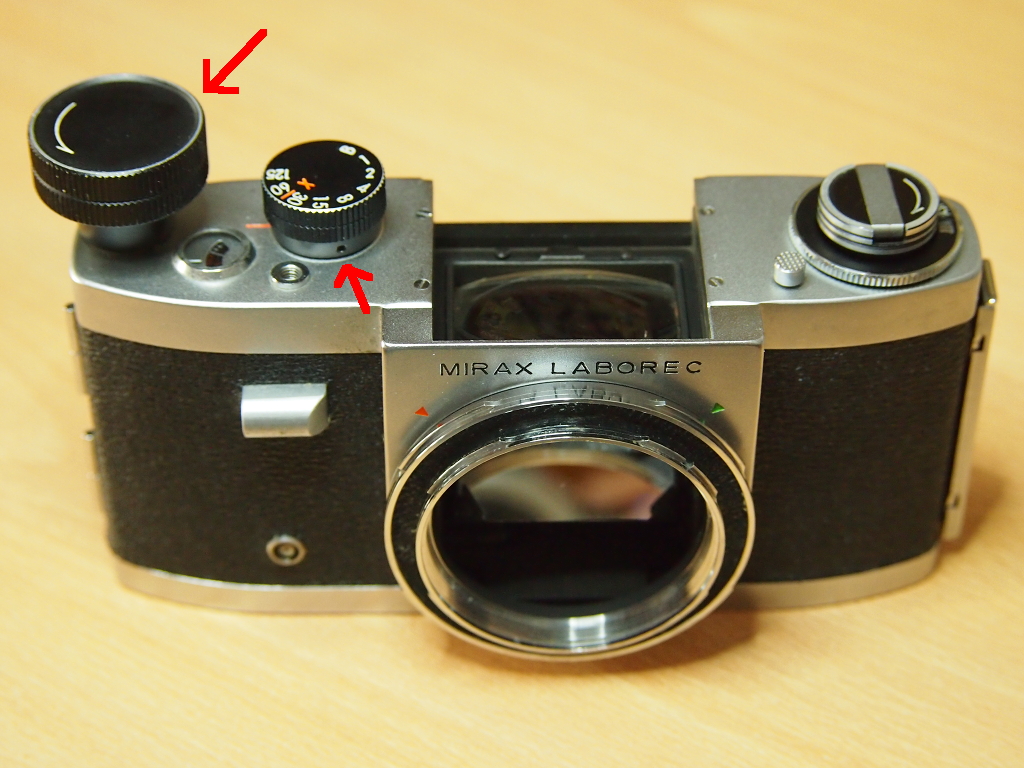
The top of the winder knob is fitted to the bottom part with a – you guessed it – left hand thread. I got the top off by winding electrical tape around the bottom part of the knob to protect the surface, holding it with pliers and turning the top clockwise. The speed selector is held in place with three very small set screws (arrow). Be sure to mark its position relative to the system below, so you can replace it correctly.
The infamous Mirax mount is in place, also. The decorative circular skin on the mount (which hides the mounting screws) is hard to get off without ruining it, unlike the front skin parts, which came off easily. Glue them back with a contact adhesive.
I’ve always thought that the Mirax mount was a kind of brainfart from the factory. It shouldn’t be too hard to replace it with a normal Miranda mount, or to make a 46mm -> 42mm or 39mm adapter (46mm to 44mm adapter may be mechanically too fragile) for use with, say, Pentax or Leica bellows, or to modify a T-mount adapter to suit. All you need is a lathe (which I don’t have…).
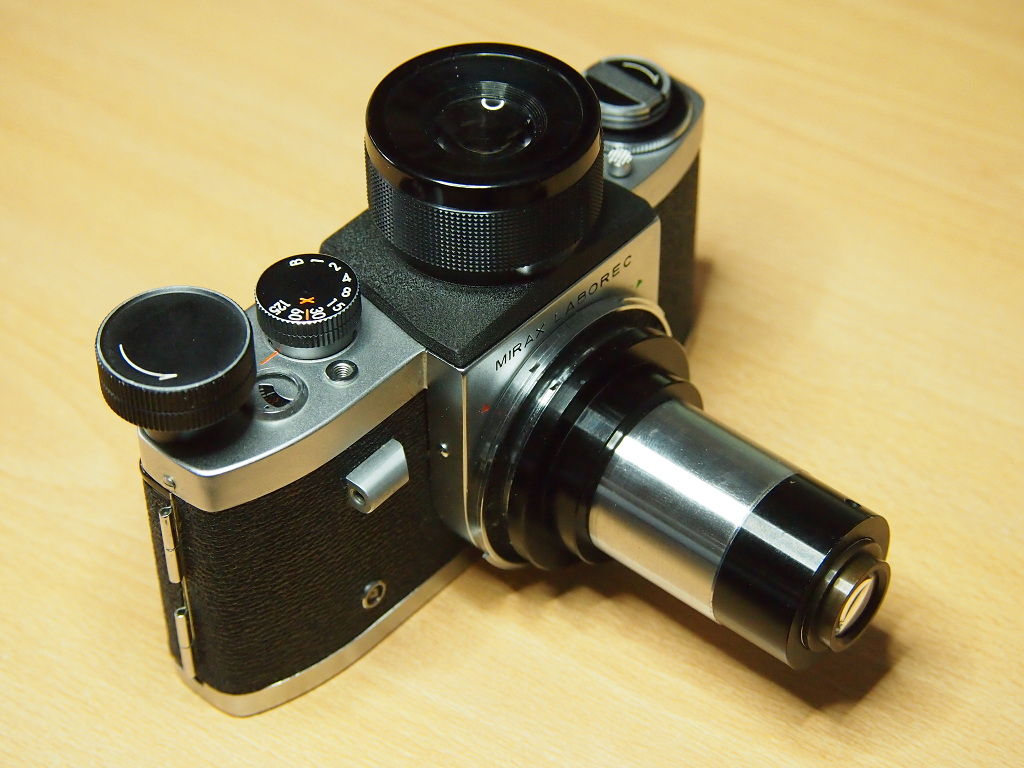
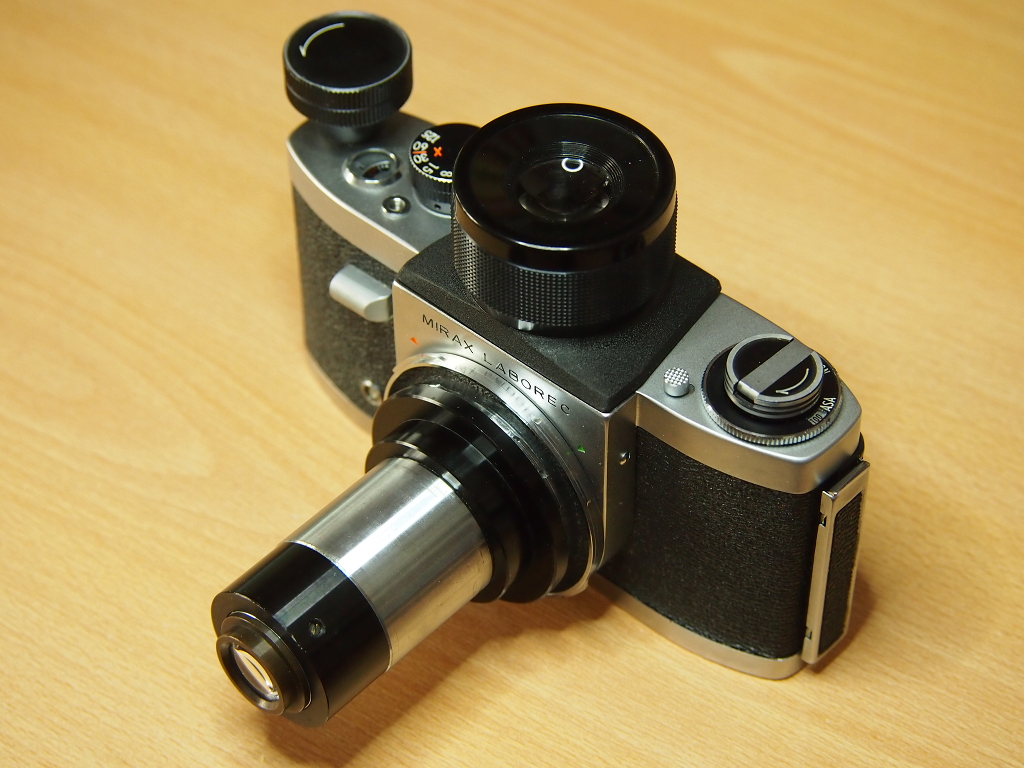
The finished Mirax Laborec. The weird-looking tube protruding from the front is a third-party (i.e. not Miranda-made) telescope or microscope adapter.
– Mirax/Miranda Laborec models
– Mirax/Miranda Laborec history